
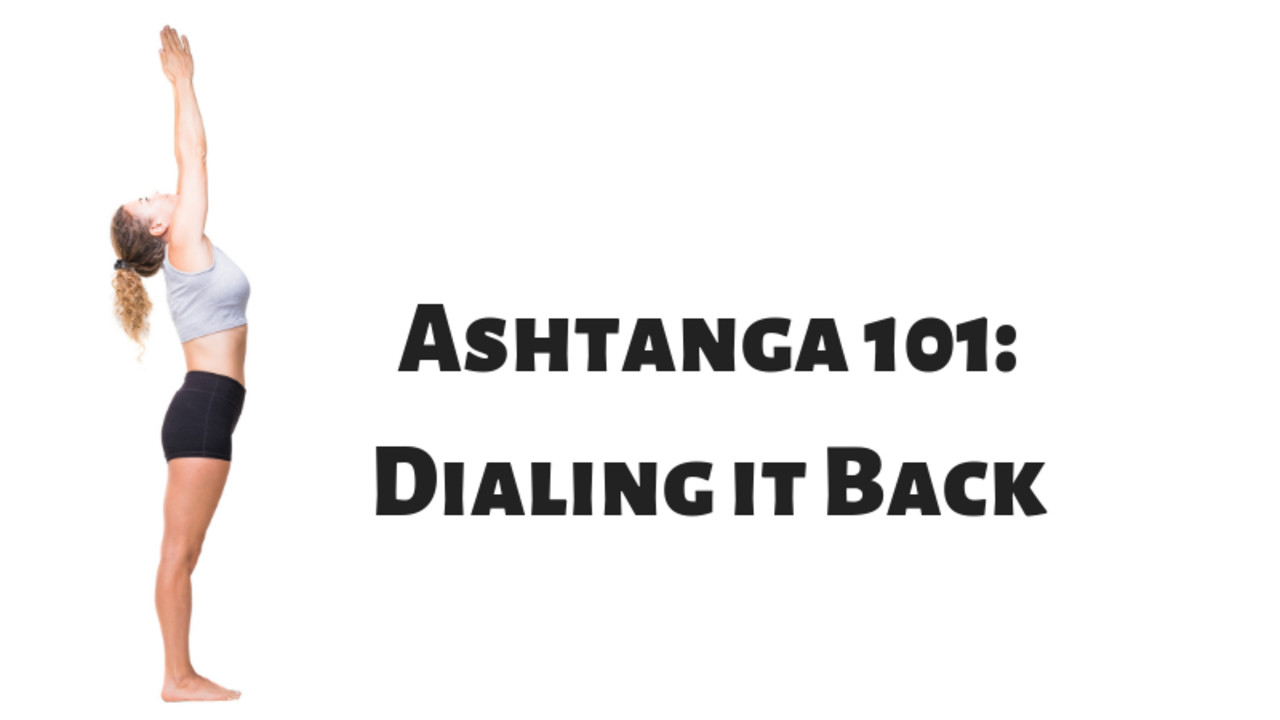
Ashtanga 101 : Dialing it Back
Sep 21, 2018Here’s a warning: A lot comes up in the first year of an Ashtanga practice. Physically, mentally, emotionally, spiritually. For many people, starting a daily practice is the first step on a spiritual path, but it’s a first step focused on the physical body. This includes the physical practice itself, changes to how the body feels and works, and changes to diet and lifestyle.
In the first year of practice, your body begins to purge old patterns – patterns that have been with you for years or decades or maybe even lifetimes. It’s very likely that you will tweak something, and you will probably have a moment (or two) when your body will pump the brakes. Different things will arise depending on your unique anatomy and your life prior to beginning an Ashtanga practice. Ashtanga is very rarely the actual cause of any of this, but will more often than not bring these issues to the surface. This is an argument for going slowly and only adding new postures once you’ve achieved a degree of ease with your practice and really feel settled in it. Everyone takes their own time to learn, but I think it’s a fair estimate to say that the average student takes around three years to learn a new series – take the time you need.
In my experience, a slow and steady approach is the key to building a sustainable practice. But, you might be thinking, that’s so much easier said than done! How do I actually DO it?
I always encourage students to practice at 70% of their capacity. Practicing at 100% all the time is how we stretch our energies too thin and get burned out, and when you’re maxed out you don’t leave yourself the room you need to grow. When I practice at 100%, I am usually so sore for the next few practices that I have no choice but to scale it back; on the other hand, if I consistently practice at 70%, my maximum capacity continues to grow until my 70% is where my 100% used to be. It's a consistent upward trajectory.
There are lots of good ways to dial back a yoga practice. The first and most obvious, is do a shorter practice. My personal favorite is something I call Series Zero – this is three sun salute As, three sun salutes Bs, the standing sequence, and the last three seated postures. And just like so much of the practice, you can modify this to suit your needs. There is so much to learn in this practice – it sets the entire foundation for the series that follow. Sometimes I’ll experiment with this practice to focus on my leg strength and try to hold each standing posture for 90 seconds. The important thing to realize is that you don’t have to do every posture every day.
Another useful way to scale back your practice is to step back in your sun salutations and vinyasas between the seated postures. Stepping back and forward, rather than jumping, is easier on the joints and it allows you to stay connected with your breath. Equally effective to dial back your practice is skipping vinyasas – you could do the vinyasa between poses and modify the vinyasa between sides, with some other options like breathing to the vinyasa but remaining seated, or putting your hands down and lifting your butt off the mat in lieu of the jump back. This is a great way to conserve energy or protect a joint.
Another option for dialing back your practice is to hold back from going into your fullest expression of a pose. Modifying postures, whether to conserve energy, take it easy, or adapt to an injury, is one of the most beautiful things about a Mysore practice – you have the space and time to make the needed modifications. For instance, if you know you can bind marichyasana C but your shoulder hurts, you can hug your leg while twisting instead. Perfect.
The point, as I’ve said before, is that the posture isn’t the goal. There is so much physical and mental benefit to getting on the mat and making whatever your best shape may be on any given day, even if it doesn’t look like something you’d see in Yoga Journal.
Getting on your mat, even (or especially) when your practice doesn’t feel how you want it to, sets you up for better practices to follow. Everyone has days that feel off. Sometimes those days can stretch into weeks and months, but practicing anyways lays down important groundwork for your next stellar practice.
Props are another great tool to help develop your Ashtanga practice. I believe Ashtanga should be accessible to all students, and I think props are great for that. Props help to make poses work for the body – not the other way around. I teach my students not to become reliant on props, but rather to use them as a tool until they no longer need them. Continually check in on your prop usage to make sure it’s still serving its purpose, because as we already have learned - nothing in this practice is permanent.
Props are tremendously helpful as support when a student is injured, and can be a great way to make a pose more accessible or more difficult. My favorite props are blocks, blankets, straps, and the wall.
Here are some ideas as to how to use them:
Straps
- Straps are a great way to help students bind - this can aid the shoulders in opening. They're simple and cheap, like this one*, but a think towel will do the trick too. I love it when the straps are already fixed in a loop, it leads to less fussing.
- The strap lets the student seal the mudra of the bind, so it’s energetically more complete.
- Try in Supta Kurmasana or in the Marichyasana series using a strap between your hands.
Blocks
- One of my favorite uses of blocks is to bring the floor up to the student – for instance, if the student can’t touch their foot in trikonasana, I might suggest they use a block to rest their hand on.
- Sitting on a block allows us to take some weight off the hips, which allows for more movement in the pelvis and can thus help a student with their forward bend. Sitting on a block is also very helpful in allowing the body to lean more into a twist and work the armpit in the direction of the knee.
- Blocks can add a degree of challenge to certain postures, like backbends, when they are squeezed between the knees, ankles, or elbows. They essentially teach us to pull into the midline. I use foam blocks, like this one*, for when I am holding it between my legs or arms because I prefer the lightness of the foam.
- Blocks can support the sacrum, back, chest, shoulders or other part of the body to help improve alignment. For standing on or otherwise bearing weight on a block, I suggest cork blocks* because they move less.
Blankets
- You can sit on a blanket like you do a block. A blanket is nice because you can adjust the height by the number of folds you put in it. I use this type.*
- Blankets can be used to support the knees in seated half lotus postures, so the knee is grounded on the blanket rather than floating.
- Use blankets to make a shoulder stand platform. This makes more space for the neck. The blanket can be used this way for chakrasana also.
Wall
- The wall is a great way to develop backbends, and there are loads of different ways to use it. You could start by putting blocks against the wall and placing your feet on them, or by putting your hands against the wall and turning your fingers out. Eventually, you’ll build up to drop-backs on the wall.
- The wall can be used in standing postures and to add new challenges by forcing you to improve your alignment. Try doing padangusthasana, trikonasana, or prasarita padottanasana with your back to the wall.
- I also use the wall for postures to help balance (like in bhujapidasana), twist deeper (like in pasasana), or to otherwise support the body weight (like in krounchasana).
Props get a bad reputation for making postures easier, but the truth is that they can introduce more rigor into a practice just as equally as they can introduce more ease. It’s all in how you use them.
Throughout your Ashtanga journey, you will experience many “honeymoon” periods. But when the newness wears off and the reality of the commitment sets in, you might not always find yourself as energized as you once were. There will be many, many mornings that you’ll want to say you’re too sore or tired or injured. But here’s the thing: WE’VE ALL BEEN THERE. It’s a lot easier to practice when you feel good and the practice feels good – it’s not as easy to practice when you are injured or burnt out.
You have a decision to make, and it revolves around a simple question that we all need to ask ourselves every day: Why are you practicing? Dig deep because if the answer only revolves around the superficial gains, it’s unlikely that the practice will stick. Ashtanga requires something much deeper and more personal than postures and sweat. It requires cultivation of a discipline that can only come from the great love of the experience and devotion to the method. Ashtanga is meant to be so much more than a physical experience, but rather is aimed toward a deeper connectedness to our innermost selves. And that’s something that certainly doesn’t come without a little bit of hard work.
Join the waitlist for my Primary Series Interactive Online Study. Coming January 2019!
Want to try Ashtanga now? My Intro to Ashtanga course is on sale! Save $20 at checkout with coupon code HELLOASHTANGA.
Ashtanga Essentials FREE 5 video email course. Sign up here.
* This is an affiliate link. If you purchase through this link, I will make a small commission. This commission will help support me and help me to continue to spend loads of time creating content for you. I will never link to something that I have not personally used and like. As always, I appreciate your support.
Visit my store.
Stay connected with news and updates!
Join our mailing list to receive the latest news and updates from our team.
Don't worry, your information will not be shared.
We hate SPAM. We will never sell your information, for any reason.


